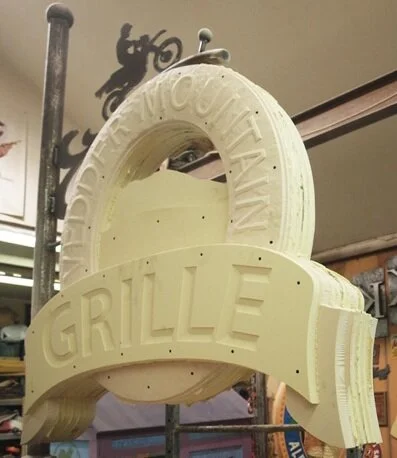
As I was planning out just how all the layers would go together I decided the sign really needed to be a little thicker. I fired up the CNC router and quickly cut two more layers that would add just a little more depth on the mountain as I carved and sculpted it. This would make the sign a whopping 9” thick at it thickest point. Then we pressure washed all the pieces to get rid of the dust that coated everything. Once the pieces were all dry it was time to put it all together at last.
Each layer was coated with glue and then lifted into position and carefully lined up. Because we were going to glue on both sides I couldn’t use clamps this time. I would instead use lots of screws to permanently hold things in place. I’d remove the screws on the last layer when I was done and fill the holes. The sign rapidly bulked up as the layers went on. The mountain started to look dimensional - even as basic cutout shapes. There’s plenty of hand work on this piece, lots of edges and the mountain to carve of course. The sign is coming along nicely though.
Stay tuned for more progress...
-grampa dan

