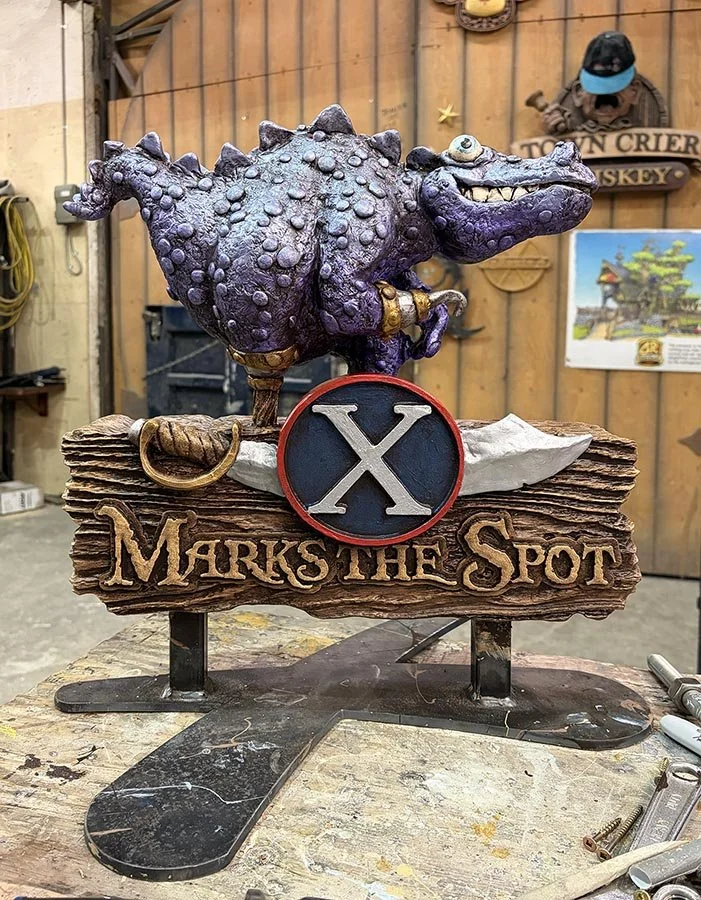
Three of the signs I am building for the Sign Invitational to be held in Las Vegas at the International Sign Association EXPO in March 2027 are nearing completion. These three pieces are for display in the sponsors’ booths as a thank-you for their support. ‘X’ marks the spot is for X-Edge tools, makers of the finest router bits and accessories. After I took this photo, I painted the first coat of metallic purple on the base. One more day should wrap up this piece. Stay tuned…
PIE!
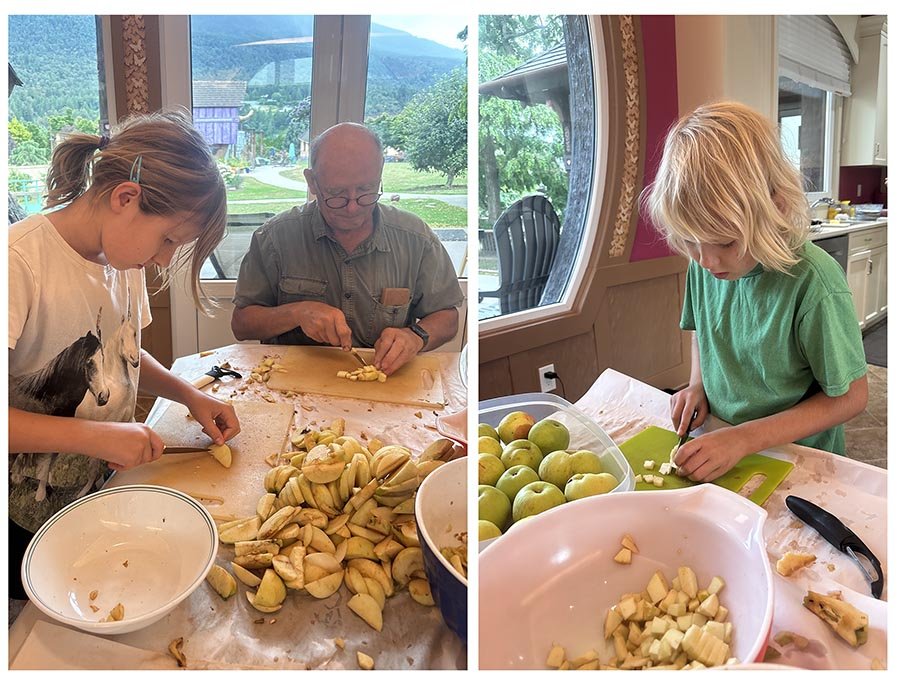
Our family has a long tradition of gathering and working together to make apple pies each year. They are frozen and then enjoyed at family gatherings. The all time record is a whopping 60 pies. We used to make an annual trip to the Okanagan in late summer to get the fruit for this and other canning. About fifteen years ago we planted three Granvenstein apple trees in our yard. This old fashioned fruit has a tart flavour, and it is used as a cooking apple which is perfect for pies and apple sauce. The harvest from the trees is extra bountiful this year and this week it was time to begin our annual tradition. The grandkids have helped since they were very young and this year was no exception. Becke is the master of the homemade dough, Janis the expert mixer of the filling ingredients. My job is to peel the apples while Peter and the kids slice them up. Today, in a couple hours we made a dozen full sized pies and a couple of mini pies for the kids.
Meanwhile, in Nebraska
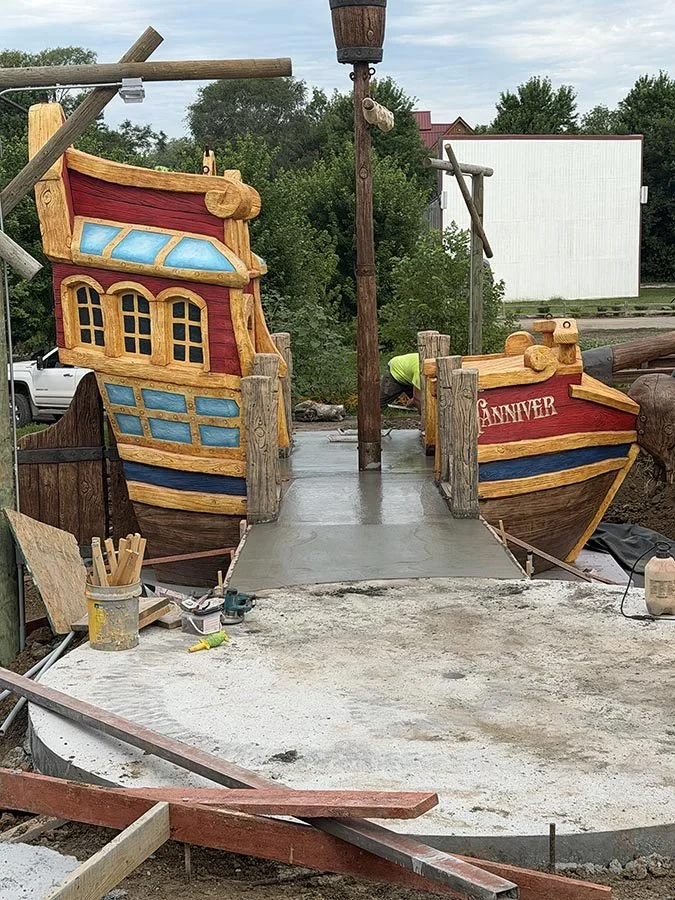
While we keep busy in our shop, things are coming along very nicely in Nebraska. The electrician has wired up the light posts and the pond contractor has been busy shaping the ground and building the pools, Randy McFarling and his crew have also been busy forming and pouring the concrete for the golfing greens which are looking pretty spiffy from what I can see in the photos. I’ll be in my way back to Nebraska on Sunday to do the final layout and help the crews make this look more like a golf in the next week. In four short weeks visitors to Vala’s Pumpkin Patch will be able to play this exciting new attraction. Stay tuned…