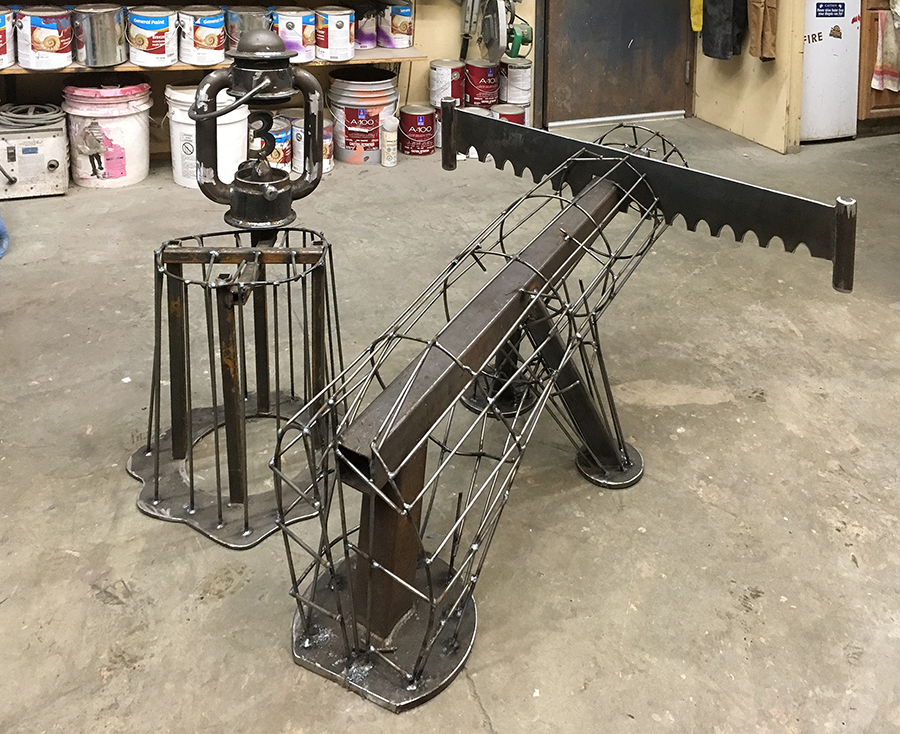
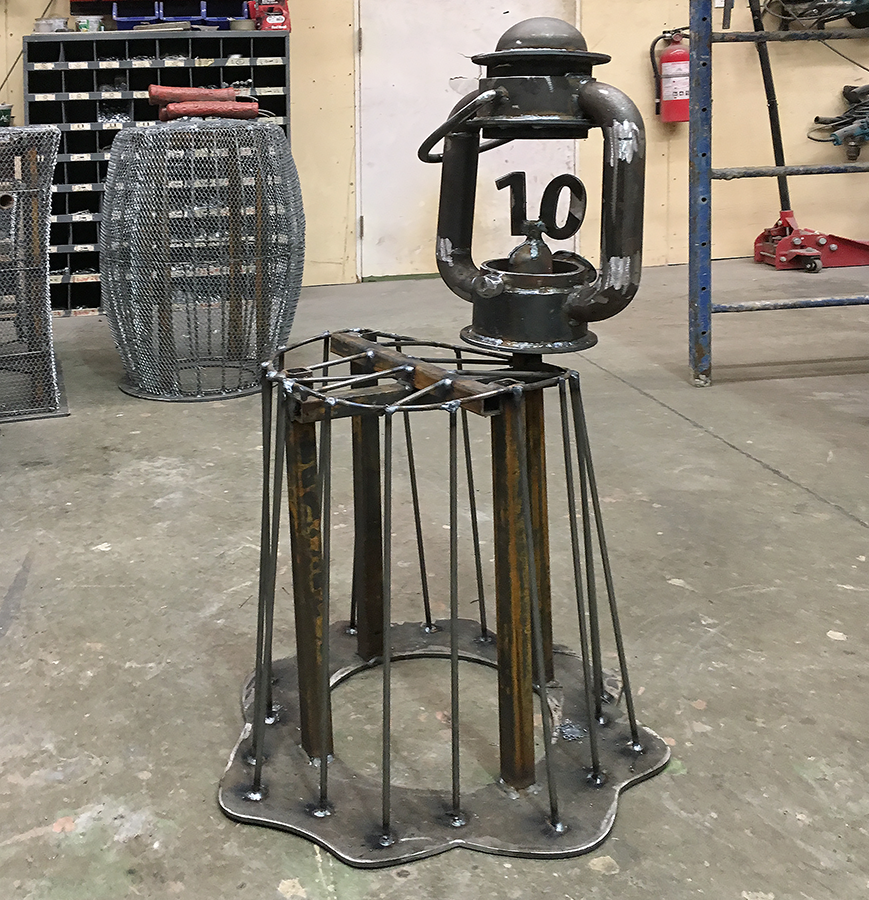
We make most of our projects out of fibreglass reinforced concrete. The process is relatively simple but requires highly skilled labour. This is the best medium we've found to make extremely detailed and durable features which are one of a kind. We first weld up the steel armatures. This is a critical step as the frames determine the final shape of the piece. We then hand tie galvanized steel lath onto the pencil rod frames. This is a very labour intensive step which involves lots of skill and patience (and a few band-aids). This process certainly is a lot harder than it looks. Then we trowel a thick coat of fibreglass reinforced concrete ono the lath. This step takes a lot of practice.
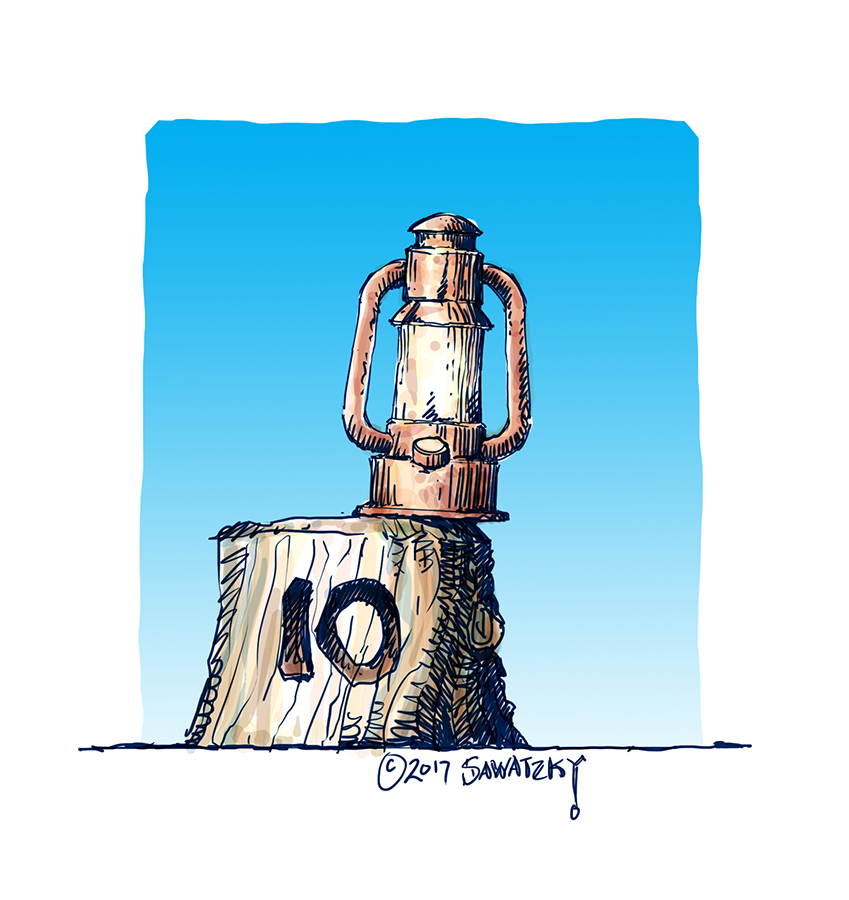
The custom mix of concrete mud is laid on from the top of the piece downwards, hanging the new mud on the old. This is allowed to set up until it is at a perfect stage for carving. Everyone seems to have a different preference as to when the perfect time is. Then the sculptors need to work quickly, carving at the same are the mud was applied. We use a variety of tools, many specifically made for the type of carving we are doing. Woodgrain uses different tools than rock. Stone and rock finishes are different tools again. We are striving for a believable but fantastical look in our sculptures. We are visually telling a story after all.
Today we 'mudded' three features and sculpted them to look like aged crates and a barrel. Each is slightly 'cartoonized' and fun. Skillfully applied paint and glazes will bring out their full character and detail after the concrete has a chance to cure. Say tuned...