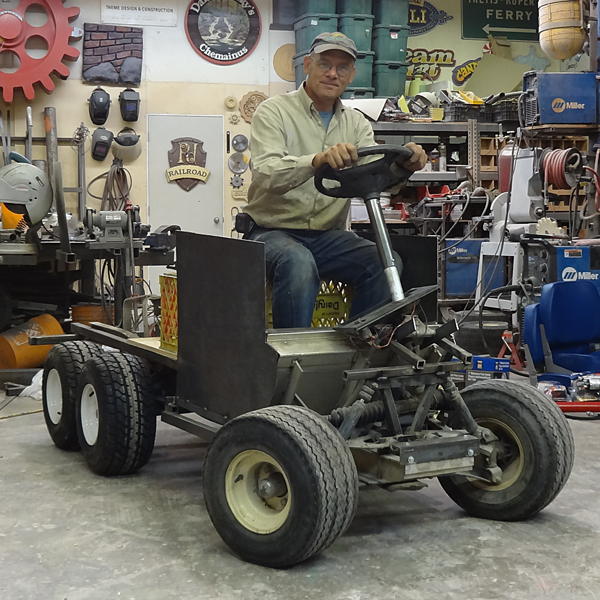
Building a golf cart sized dump truck is definitely challenging. But having built eight other similar vehicles definitely helps. The hard part is not the body or frame but keeping the seven batteries and other mechanical components inside the frame and body - out of sight. The more the modifications we need to achieve the body style, the harder it is to do it seems.
I was really tempted the build an entirely new frame this time, allowing me a lot more freedom in the execution of my design. But budget and time constraints do not make that possible this time around. The original frame of the golf cart is made from aluminum which means I will have to build a steel subframe and bolt it to the original. Pedals and controls will remain in their stock configuration. But since I am going to move the seat forward and up I also will shorten and reposition the steering column. I'll also move it it towards the center of the car at the same time as the new body will be much narrower than stock.
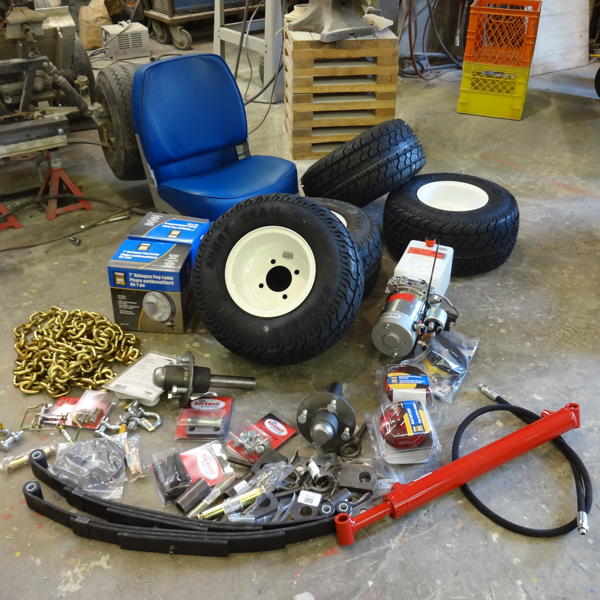
Before I started I made a trip into Princess Auto - a surplus store that has all manners of things I needed including he hydraulic power pack, controls, hoses and cylinders. They also had the right size wheels, springs and hubs along with the lights, horn and other bits and pieces. All of these components will determine the exact size and placement of everything I need to build.
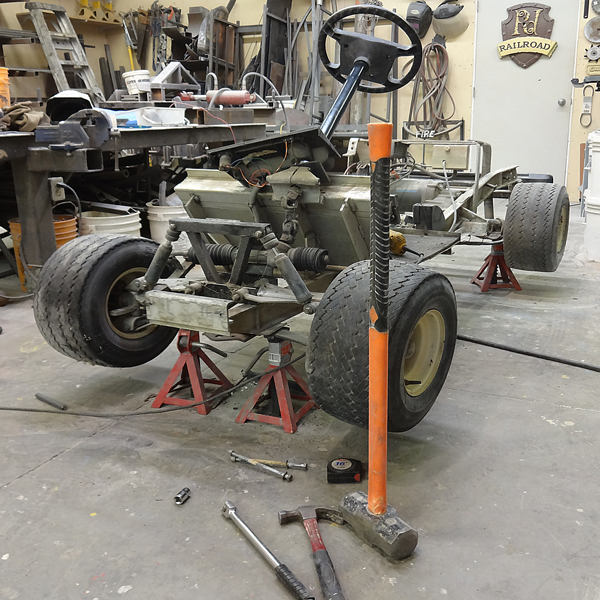
I cut the steel I needed and then welded up the tandem axle. Since the dump truck design called for a really short wheelbase I was hoping to put the second real axle ahead of the stock one. It fit with about half an inch of clearance. It took me only about six hours to weld up the subframe and bolt it into place with the working second axle and the shortened steering column. The chassis looks like the cartoon drawing I did a while back without a doubt.
I am very happy with the progress so far. In the next few days I should be able to do the bulk of the welding needed. Stay tuned...
-grampa dan