Multicam Submarine - Part 3

Part 2

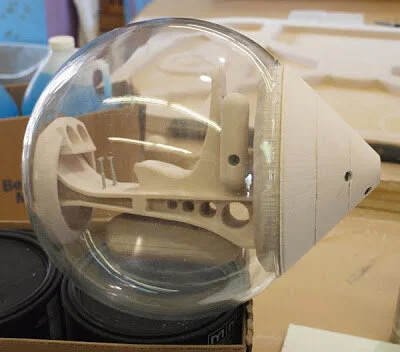
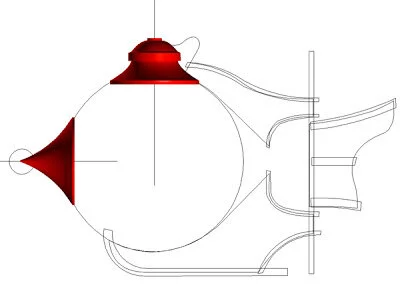
The file for the exterior of the submarine was built in EnRoute. Dad starting by tracing the shapes over a digital photograph of the sketch.

sub part vectors.jpg

He used the profile he had created with vectors and Enroute’s revolve tool to create the shapes on the top hatch and the nose cone.

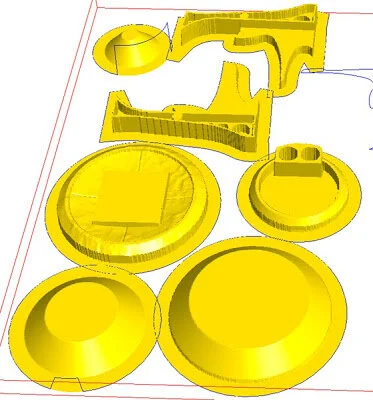
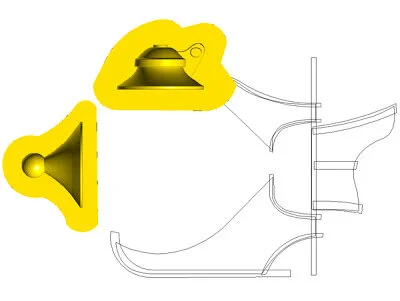
Next dad created two zero reliefs and merged the meshes to them. These were higher than his 1" thick HDU so he will need to slice them into sections later.

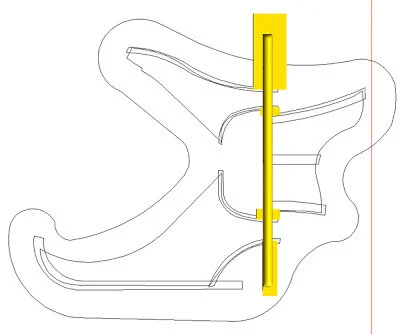
Dad prefers to build each shape individually and then merge them when he is happy with the different pieces. The hinge for the rudder was a simple rectangle domed at a 90 degree angle. Then he created four zero height rectangles and merged lowest to get rid of the bits he didn't want.

Dad built each piece, sliced and then arranged the cones then merged them to a large zero height relief. Before he applied the tool paths he checked a top view and the 3D view.

finished file.jpg

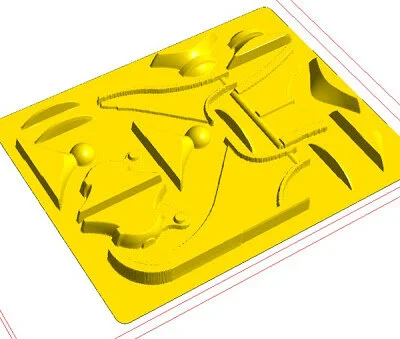
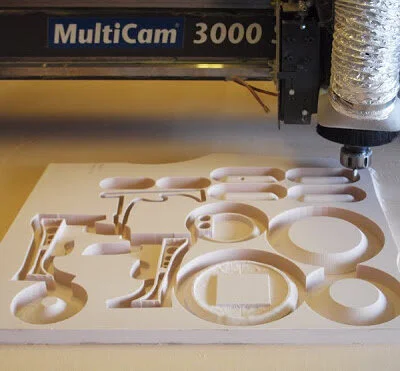
Everything looked like it should so he sent the file to the CNC router for production.

sub parts.jpg
Part 4

Multicam Submarine - Part 2

Part 1

The file for the sub’s interior was created entirely in EnRoute. The bulk of it was created with vectors although dad did throw a texture bitmap on the bulkhead behind the seat. The nose cone was sliced into sections in order to fit inside the 1" HDU. He carefully left spots for the LED lighting modules.

The pieces were roughed out with a 3/8" ball nose bit on the CNC router (by no coincidence our router is a MultiCam), then followed with a fine pass and a 1/8" ball nose bit.

Before dad cleaned the edges he test fit the various pieces.

Once the edges were cleaned up and the dust blown off dad glued everything up with a quick set epoxy. Then it was time for the moment of truth... would it all fit inside the glass bowl?

He needn't have worried as everything fit perfectly. In the next instalment, we will start work on the sub’s exterior.

Part 3

Multicam Submarine - Part 1

multicam sub.jpg

My father has always had an affinity for “fish submarines.” In fact, he has been building them since the 1990’s. His first model started with an old glass fishing float. He used wood, paper, paint, bits of wire to craft it. As I recall, the sub’s rivets were those little plastic, googly eyes you can find in craft stores. It’s been on his studio shelf ever since. That model has inspired a number of full scale mechanical fish through the years — all built for various theme parks.

When we got our first CNC router, one of the first projects he tackled was another submarine model. This one is a half model and hangs in our shop bathroom.

bath sub.jpg

This series will look at yet another fishy submarine — this one built for display in a corporate board room. As always, dad started with some sketches. The first sketch shows the entire sign as it will be seen from the front. He’s noted where we will insert some LED's and sculpt some sea life.

sib sign.jpg

The sub itself will follow the pattern of his previous models. This time, however, the glass will be kept clear and he will sculpt a full interior. He established the proportions with this second sketch.

sub sketch.jpg

The interior, like the rest of the submarine will be combination of CNC work and a little hand sculpting.

sub interior.jpg

Dad settled on a fishbowl for the glass viewing bulb. The sub will then be formed around the bowl. Our next instalment will discuss the routed pieces of the submarine.

Part 2