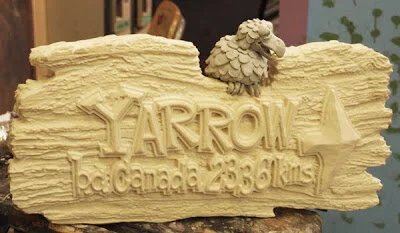
We designed this simple sign with EnRoute. We will route it from 30 lbs. Precision Board high density urethane (HDU). We will reinforce it with 3/4" plywood, laminated inside.

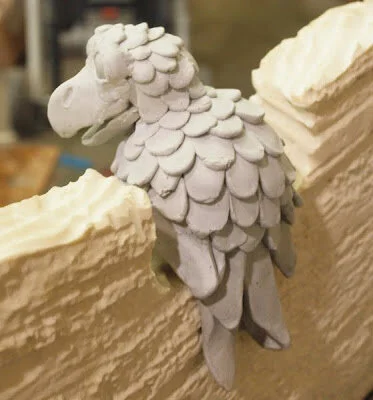
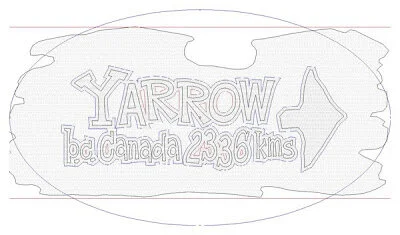
We created the lettering with vectors in Illustrator. We used a texture bitmap to create the driftwood background and we sculpted a cartoon bird on top to suggest the distance is 'as the bird flies'. We imported the vectors and driftwood bitmap texture into EnRoute. We traced the outline of the driftwood texture, then selected the outline and created a relief with a domed top (13 degrees) — rounding the top of the wood. Next, we added the driftwood texture bitmap using a value of 0.3".

Then we created an offset outline around the lettering and arrow of 0.2". We used this outline to create a flat relief of this shape. Then we drew an oval around the relief and selected both the oval and the relief. The oval was used to add a 13 degree dome to the relief. Once this was done, we deleted the oval.
As you can see in the side view, the lettering is now shaped with roughly the same profile as the woodgrain panel.

We used the vector letters to create chiseled “prismatic lettering” — with a 21 degree angle. Before merging them to the wood-grained panel we created a second copy of the panel and flipped it for the back of the sign. This side won’t have any lettering.
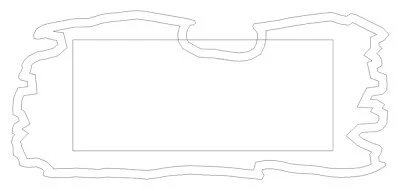
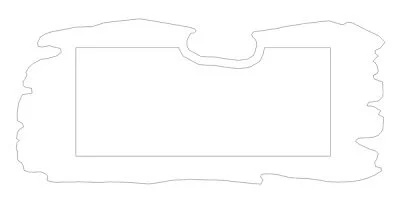
To make room for the 3/4" plywood insert we used a copy of the vector outline. We used the outline tool to create an inside offset of about half an inch thick. Then we drew a rectangle inside the panel leaving a generous border around the edge. We used the 'jigsaw weld tool' to create this new shape and then deleted the components we used to make it. We grouped the outline of the panel with this new shape and then used the toolpath tool to create the routing offset which would cut out a 3/4" panel with the hole in the middle for the plywood insert.
We then tool-pathed the other panels and sent them to the CNC router. They were routed in two passes - a rough cut using a 3/8" bull nose bit and a final pass with a 75% overlap using a 1/8" ball nose bit.

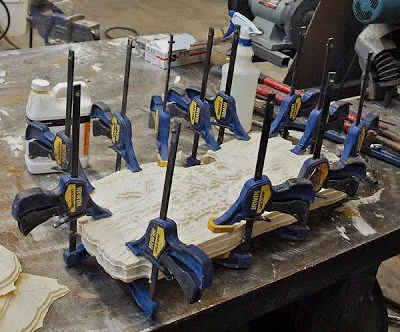
Once routed, we removed the dust and then set about gluing them up using PB Bond - 240, a Coastal Enterprises product. This glue is a one part adhesive activated with a little moisture. We used a small bondo spreader to make an even coating of glue. Once the three layers were coated and lined up we used plenty of small clamps to hold the pieces in place.
We sculpted a small bird with sculpting epoxy before painting the sign.